


The Overlanding Essential: What Are Ditch Lights?
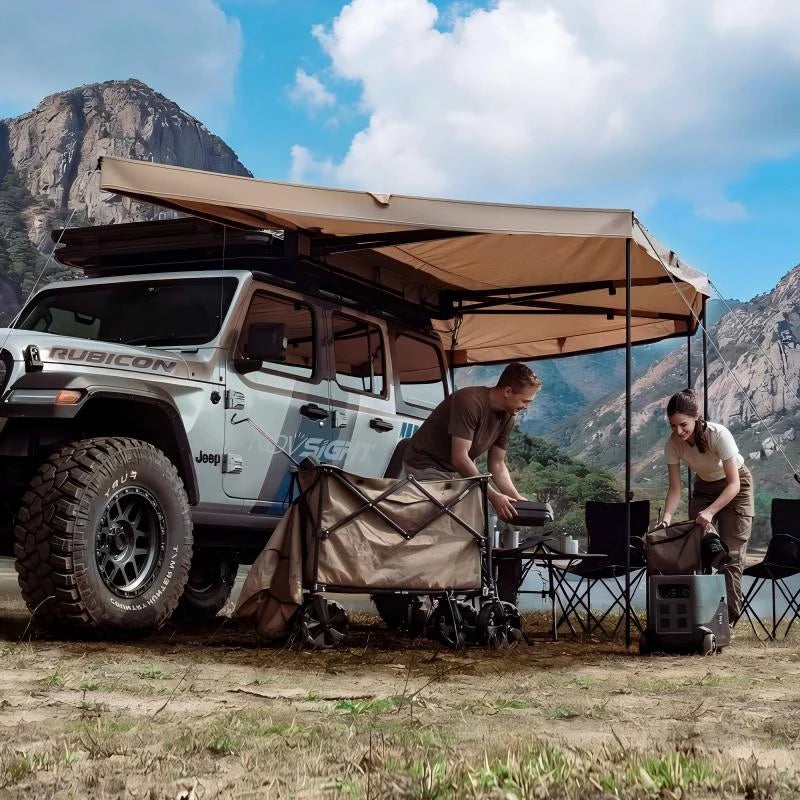
When you are deep in the backcountry overlanding, trail conditions can change in a heartbeat. As the sun dips below the horizon, standard headlights do a decent job of illuminating what is directly in front of you. However, they leave your flanks in pitch darkness. Winding mountain passes, tight forest switchbacks, and rocky obstacles require peripheral vision. This is where ditch lights come in.
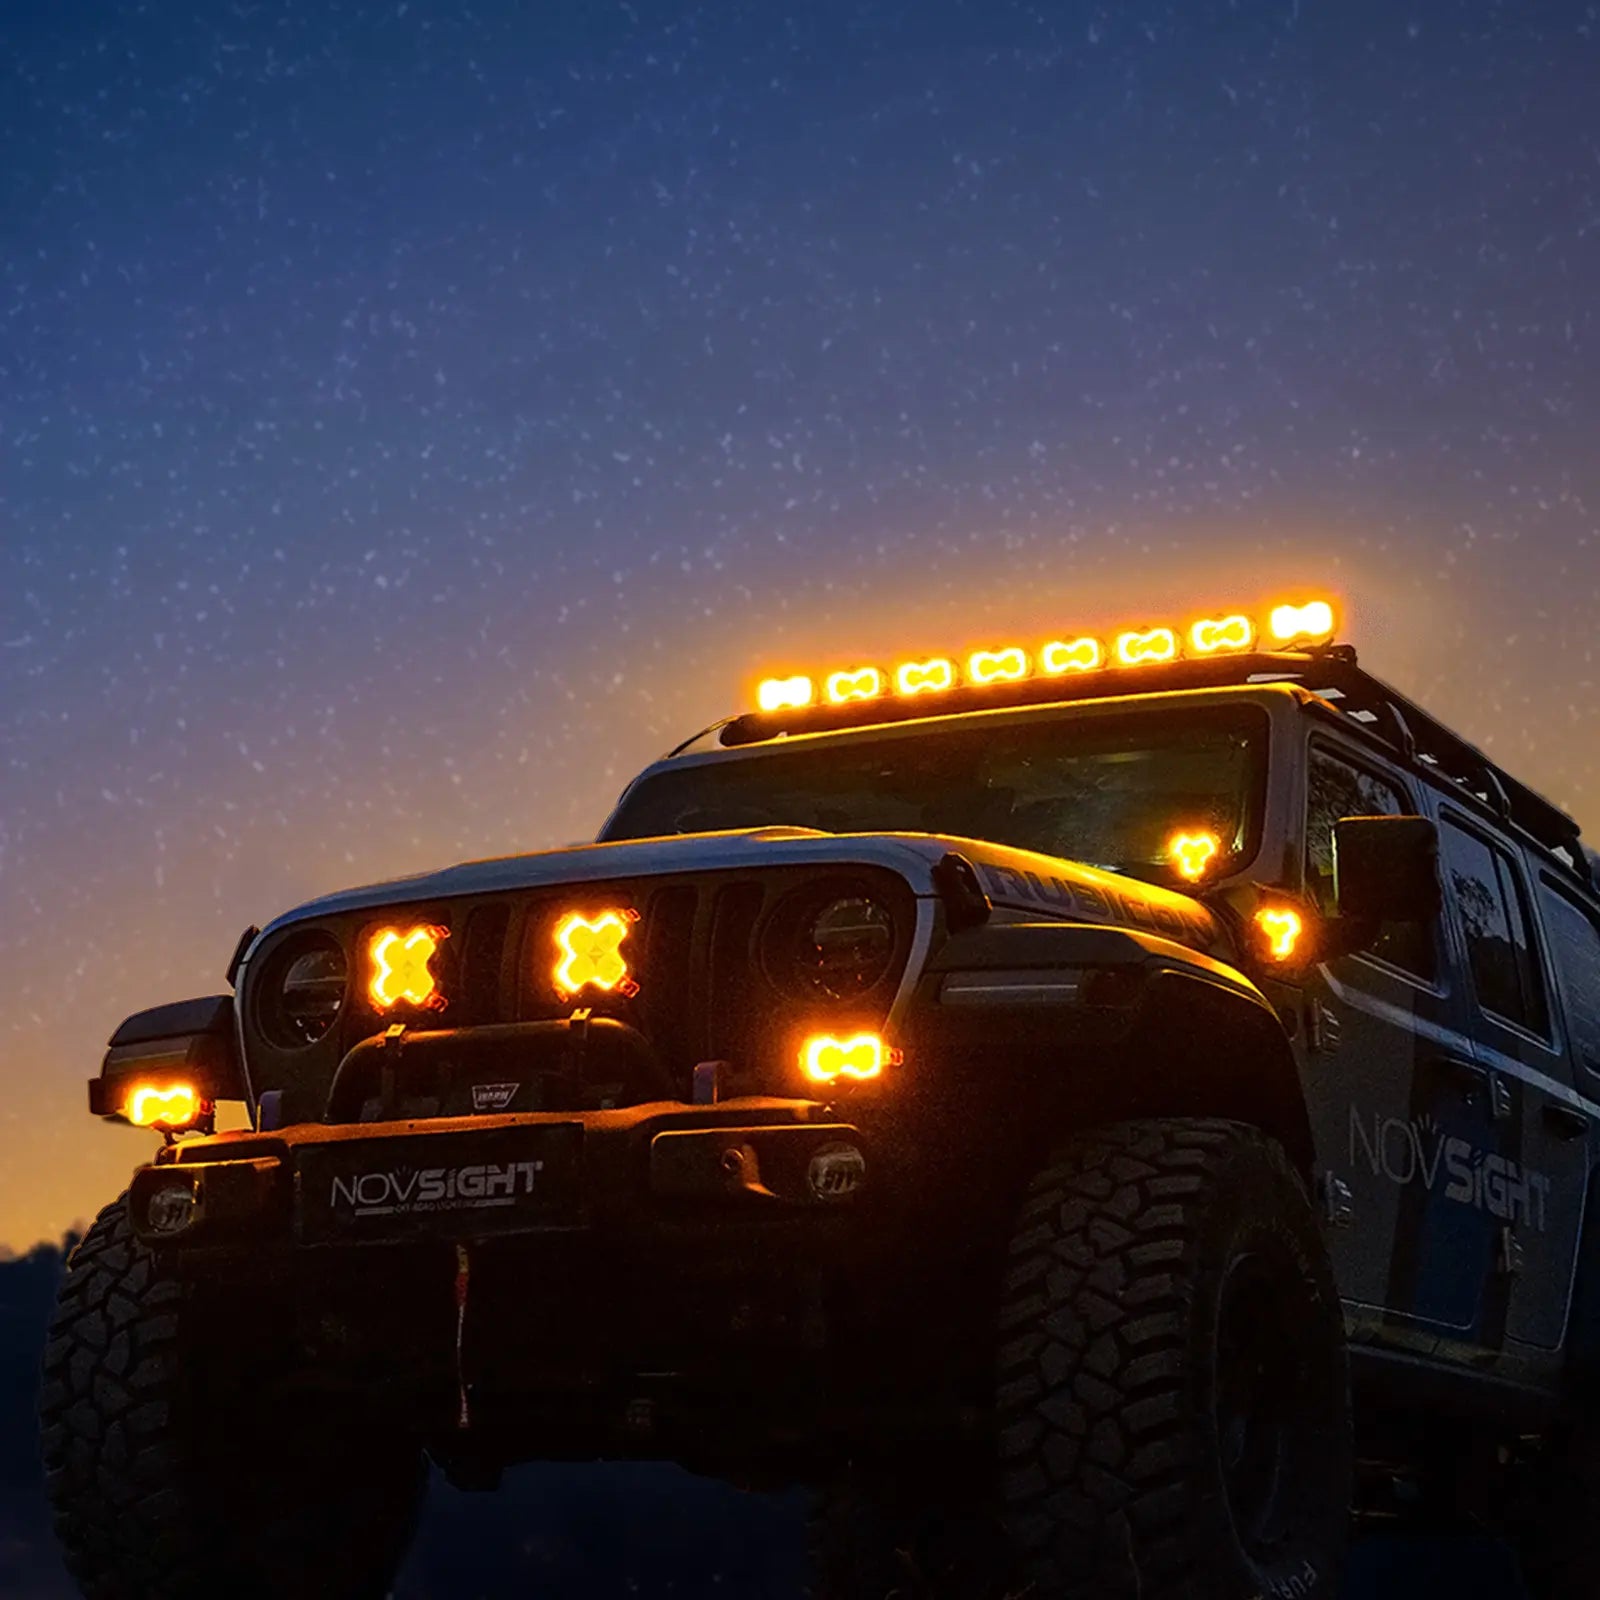
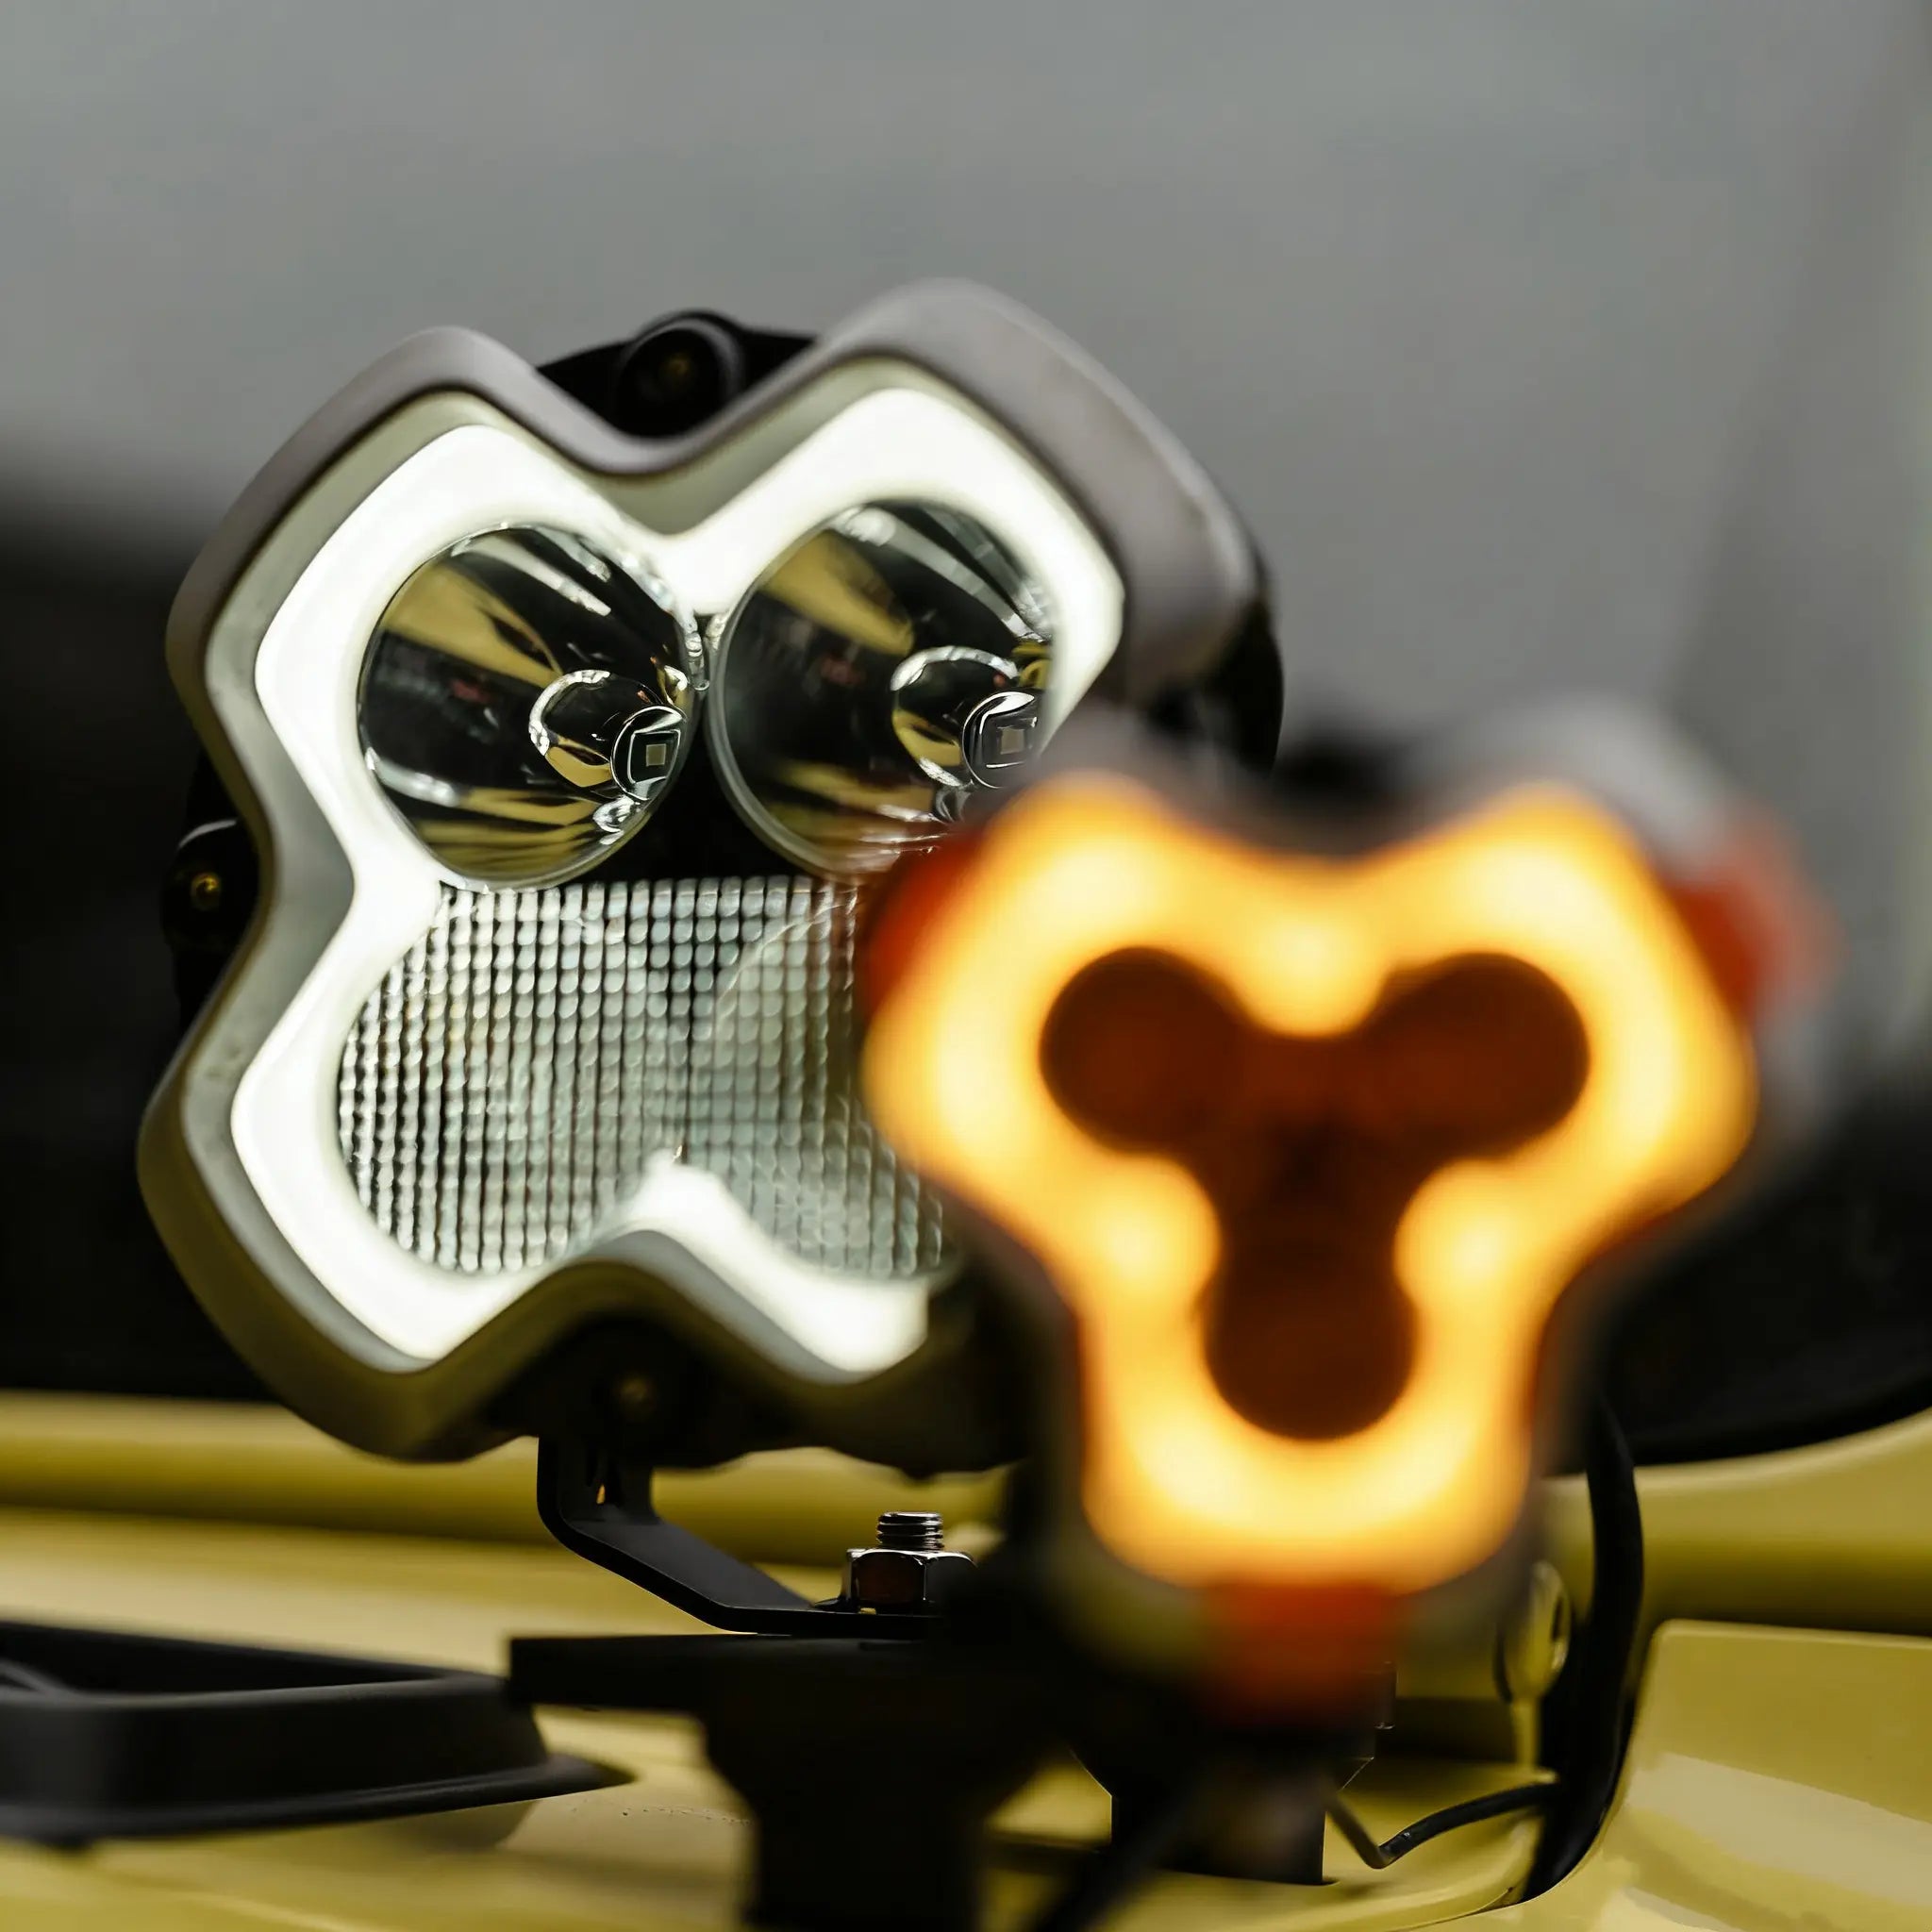
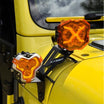
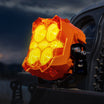
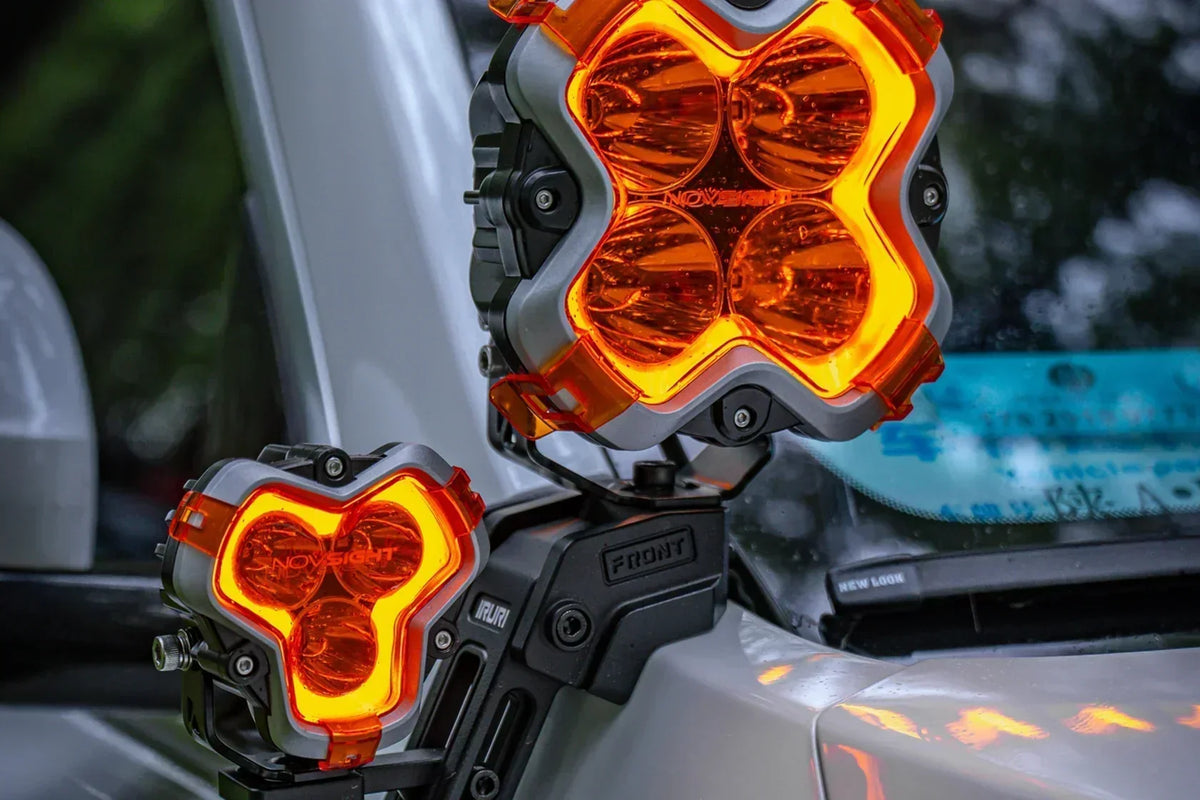
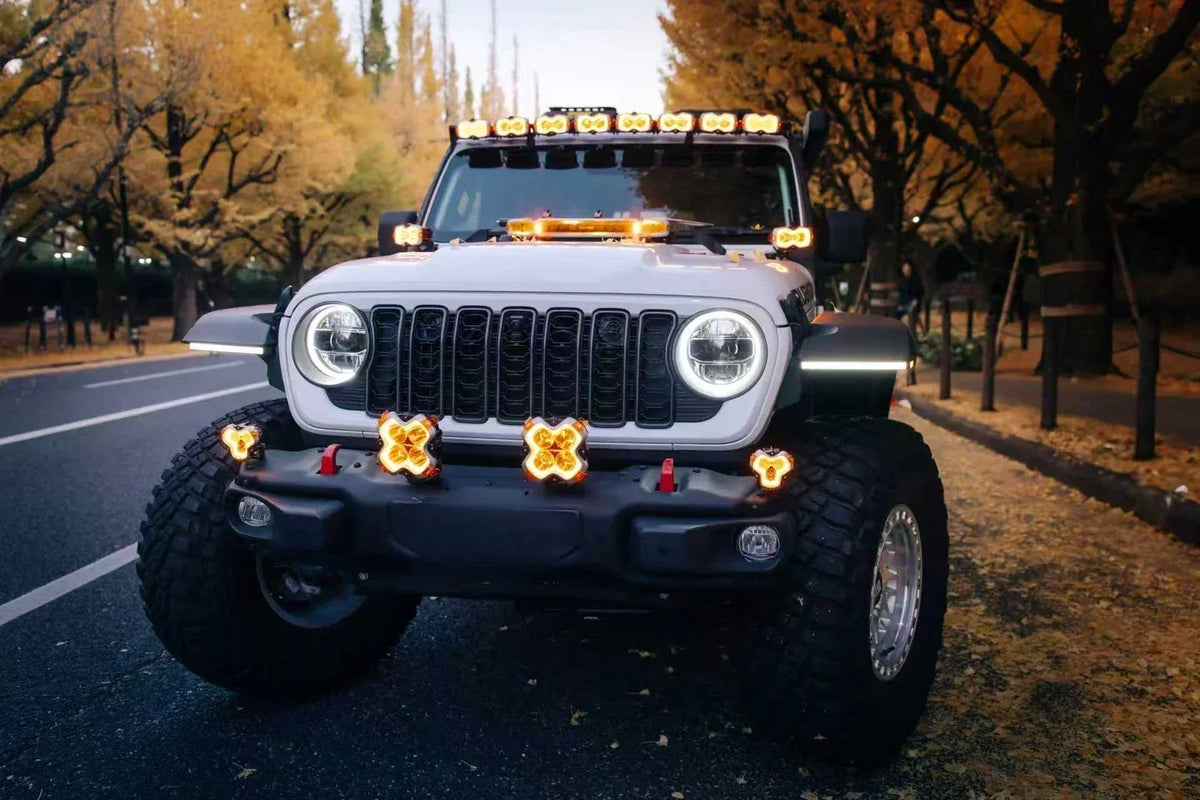
Ditch lights are small, high-output lights mounted near the base of your windshield on the A-pillars. Angled outward at roughly 45 degrees, they illuminate the ditches, tree lines, and trail edges. This helps you spot sudden drop-offs, low-hanging branches, or wildlife before they become a hazard. In this guide, we will cover why pod lights are the perfect choice for this setup, how to install them, and how to aim pod lights for maximum trail visibility.
Why LED Pod Lights are the Ultimate A-Pillar Upgrade
When it comes to A-pillar mounting, bulky light bars are out, and compact cubes are in. High-quality LED pod lights offer the perfect balance of size, power, and targeted illumination without obstructing your view of the road.

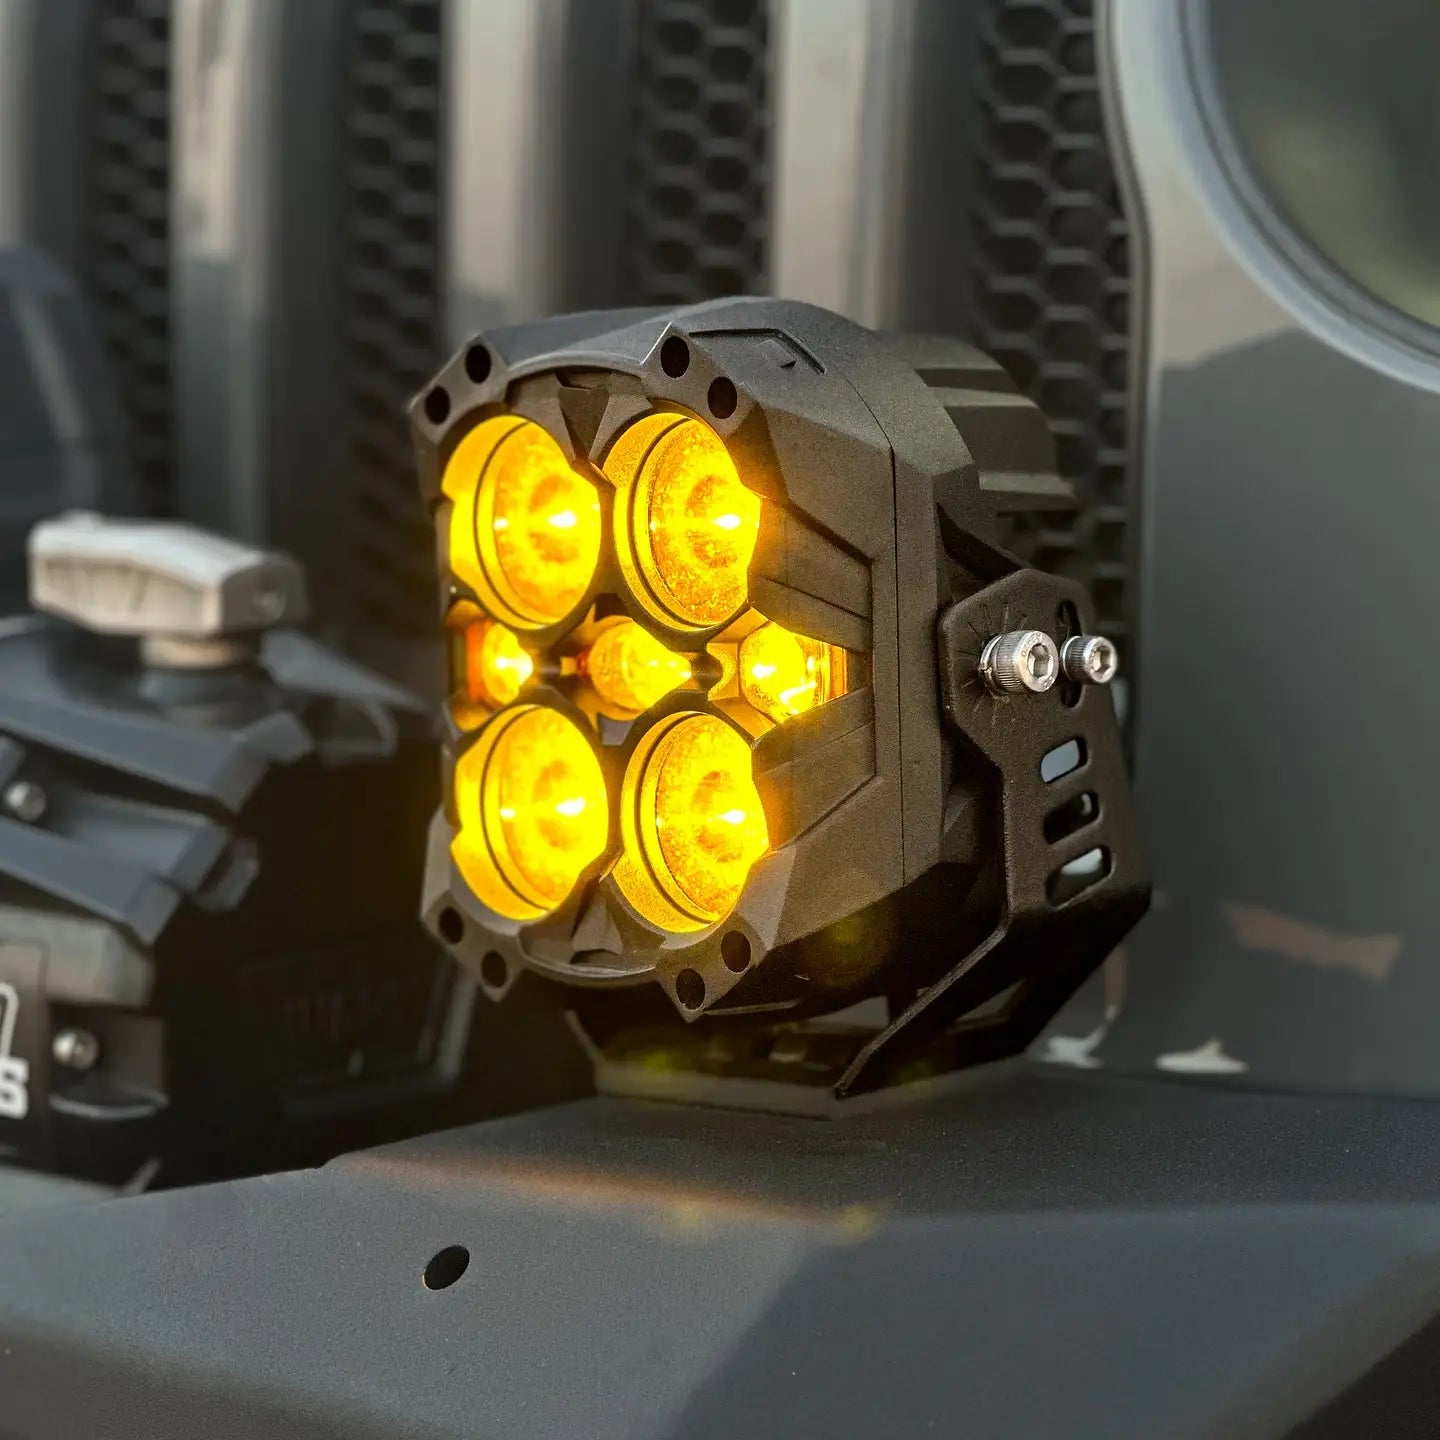
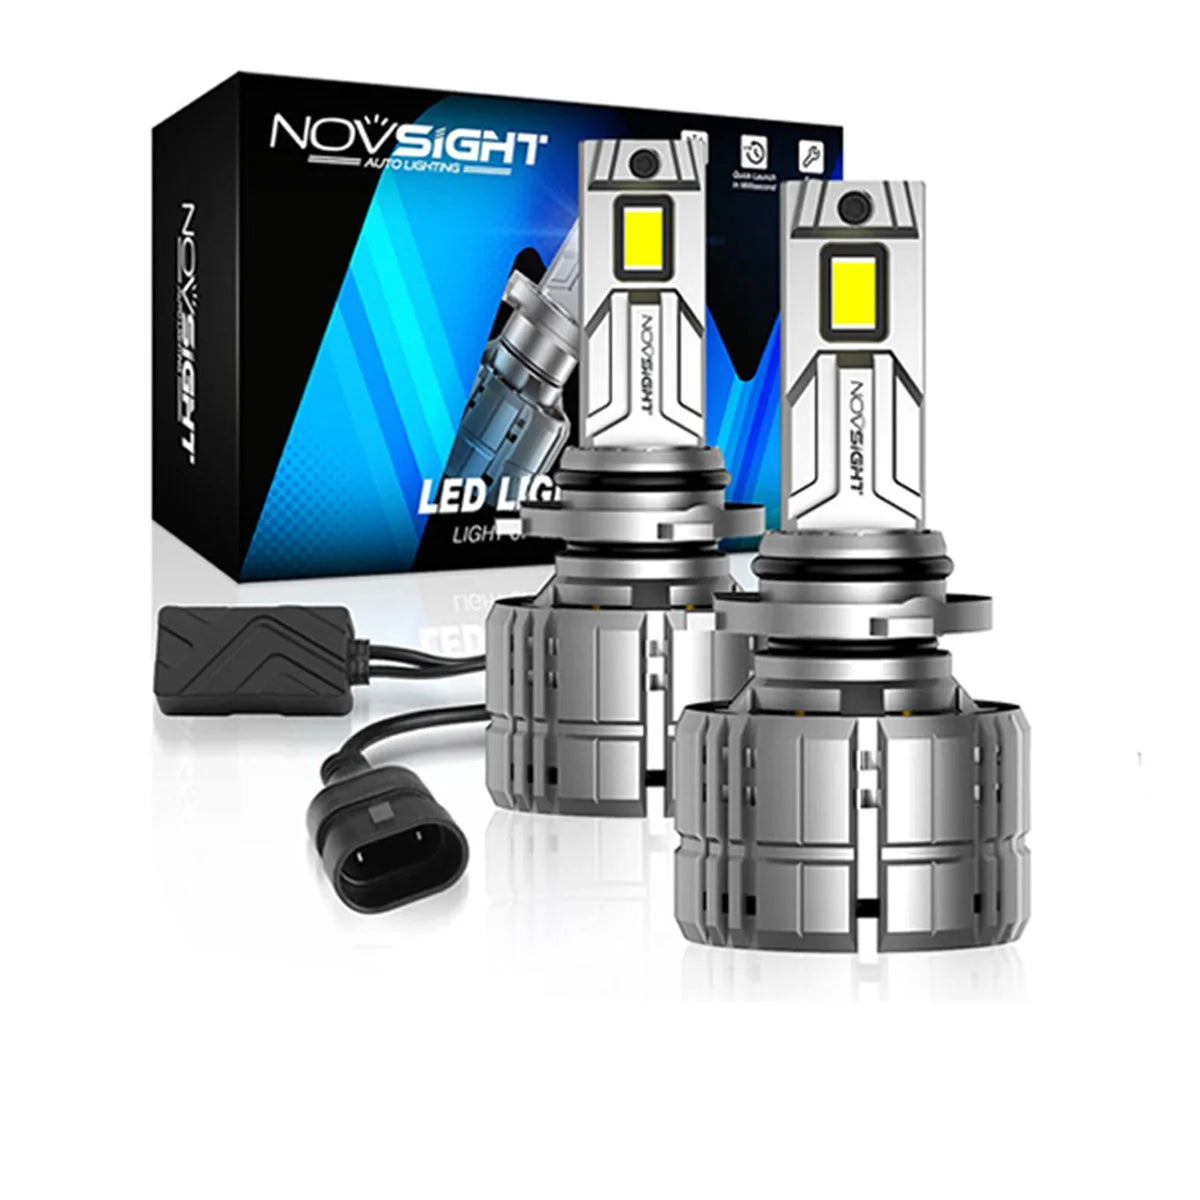
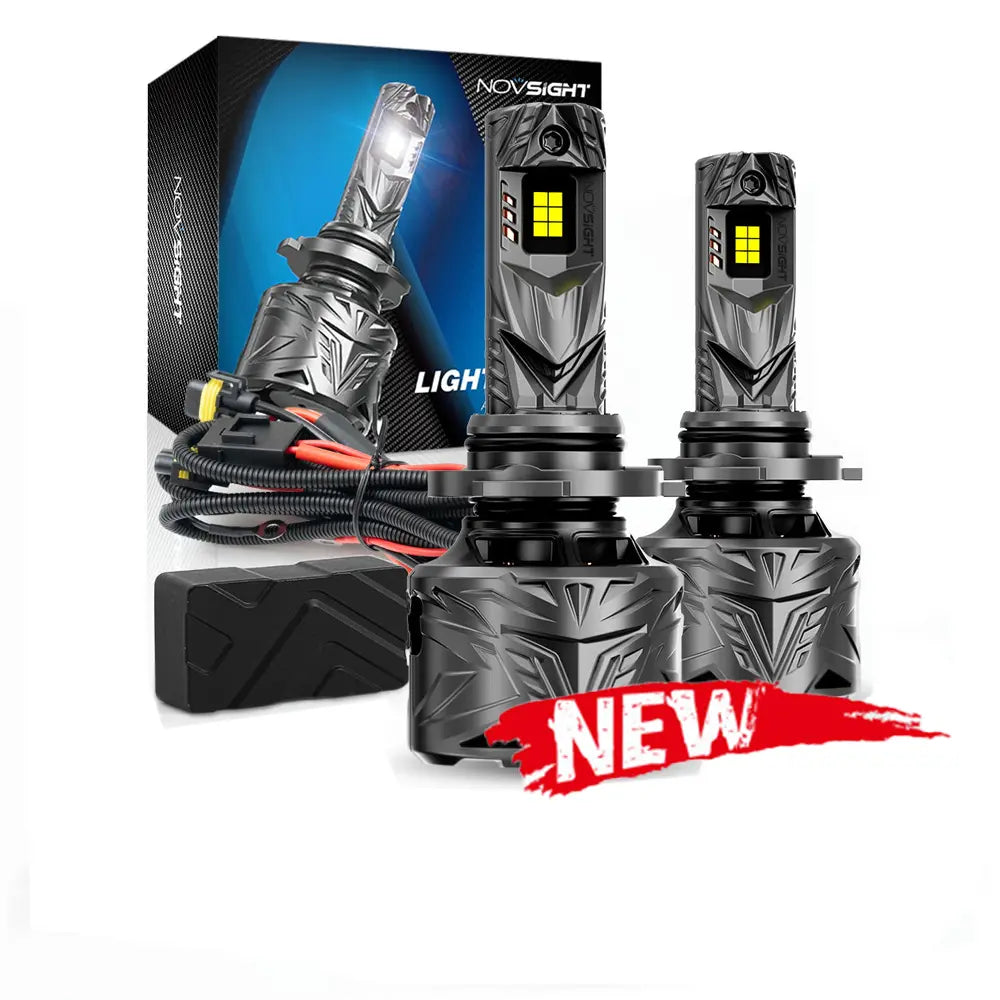
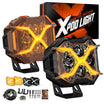
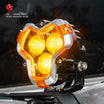
Novsight’s line of LED pod lights is engineered specifically for these demanding conditions. Available in 3, 4, and 6-inch cubes, they fit perfectly on standard hood-hinge brackets. Despite their compact footprint, they deliver serious performance, drawing between 40W and 184W and outputting a powerful 3,200 to 13,000 lumens. This massive light output ensures that even the darkest trails are fully illuminated. Built to withstand the elements, these pods feature an IP68 waterproof rating, ensuring they survive heavy downpours, thick mud, and dusty overlanding routes. Operating on a versatile 10-30V range, they are compatible with virtually any truck, SUV, or ATV, and they come complete with a professional wiring harness to simplify your installation.
Step-by-Step: How to Mount Pod Lights on Your A-Pillars
Mounting your new pod lights is a straightforward DIY project that can be completed in an afternoon. Here is how to get it done.

Step 1: Gather Your Tools and Gear
Before starting, make sure you have the following:
- A set of high-quality LED pod lights (with included wiring harness)
- Vehicle-specific A-pillar/hood-hinge mounting brackets
- A socket set and open-end wrenches
- Zip ties and electrical tape
- A trim removal tool (optional, but helpful for running wires)
Step 2: Install the A-Pillar Brackets
Do not bolt the lights directly to your hood. You will need vehicle-specific brackets that attach to your hood hinges. Open your hood and locate the hinge bolts. To prevent your hood from shifting out of alignment, work on one side at a time. Remove the factory hinge bolts, place the bracket over the hinge holes, and reinstall the bolts. Hand-tighten them first, ensure the bracket is aligned correctly, and then torque them down to factory specifications.
Step 3: Mount the Pod Lights
Take your LED pod light and attach its mounting bracket to the base of the light. Next, bolt the light bracket to your newly installed A-pillar bracket. Leave the mounting bolt slightly loose so you can adjust and aim the light later in the process.
Step 4: Route the Wiring Harness
Run the waterproof connector from the pod light down into the gap between the hood and the cowl. Connect it to the included wiring harness. Route the harness safely through the engine bay, keeping it away from hot components like the exhaust manifold and moving parts like steering shafts. Secure the wires using zip ties. Run the switch wire through a factory rubber firewall grommet into the cab, and mount your switch in a convenient location on your dashboard.
How to Aim Pod Lights for Maximum Trail Safety
Once your lights are mounted and wired, it is time for the most critical step: aiming them. Many off-road beginners make the mistake of pointing their ditch lights straight ahead. This defeats their purpose and can cause blinding reflections off your hood. Knowing how to aim pod lights correctly is what transforms them into true ditch lights.

- Find a Dark Wall or Flat Ground: Park your vehicle about 25 feet away from a wall on a flat surface, or wait until dark on a quiet trail.
- Angle the Pods Outward: Turn your lights on. Physically rotate the pods outward at a 30 to 45-degree angle away from the center of the vehicle. The goal is to have the inner edge of the pod's beam pattern slightly overlap with the outer edge of your vehicle's high beams.
- Adjust the Vertical Angle: Tilt the pods slightly downward. You want the hot spot of the beam to hit the ground on the sides of the trail, not up in the trees or directly on your hood. Hood glare is a major safety hazard that causes eye fatigue, so angling them down and out is essential.
- Tighten the Hardware: Once you have achieved the perfect coverage, lock the mounting bolts in place with a wrench.
Choosing Your Beam Pattern: Spot, Flood, or Combo?
When selecting your pod lights, the beam pattern makes a massive difference in performance. Here is a quick breakdown of how they perform on the A-pillar:

- Spot Beam: Projects a narrow, long-distance beam. While excellent for high-speed desert running when mounted on the bumper, spot beams on the A-pillar can sometimes create intense hot spots and unwanted glare on your hood.
- Flood Beam: Projects a wide, short-distance spread of light. This is highly effective for A-pillar ditch lights as it evenly illuminates the immediate surroundings, making it easy to spot obstacles at slow to moderate overlanding speeds.
- Combo Beam: The best of both worlds. A combo beam utilizes spot optics in the center for distance and flood optics on the sides for width. This is the most versatile option for general overlanding, giving you both side-trail visibility and extra down-road punch.
Ditch Light FAQs
Are amber or white pod lights better for the A-pillars?
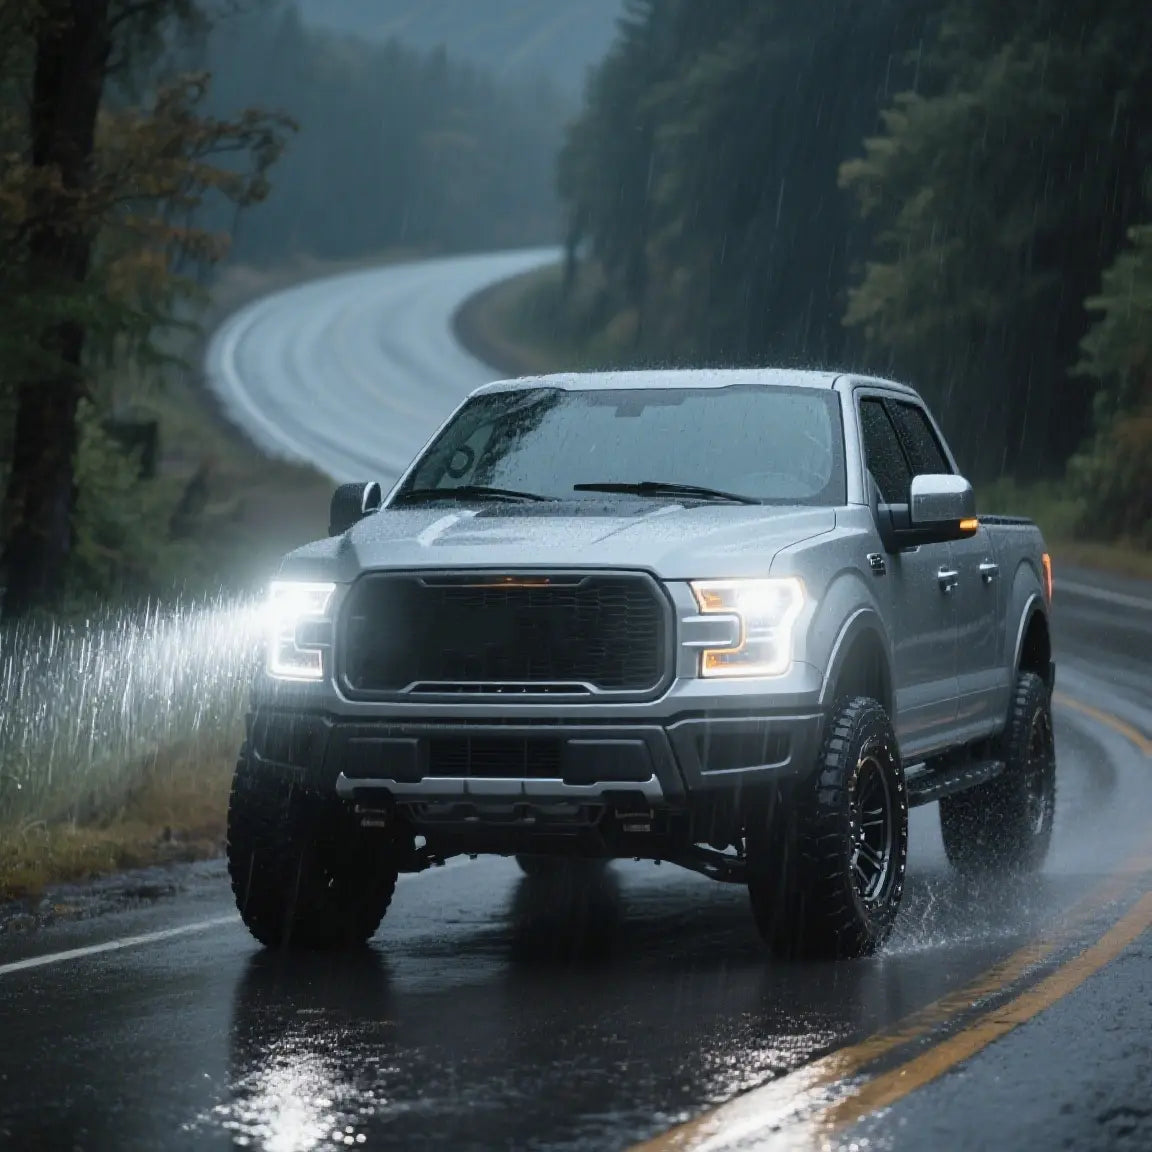
It depends on your driving conditions. White light offers the highest raw lumen output and maximum visibility in clear conditions. However, amber light has a longer wavelength, which allows it to cut through dust, fog, rain, and snow without reflecting back into your eyes. For dedicated overlanding where dusty trails are common, amber pods are highly recommended.
Will A-pillar pod lights cause wind noise or whistling?
Because they sit directly in the wind stream, some pod lights can cause a slight whistle or wind hum at highway speeds. You can easily minimize this by ensuring the cooling fins on the back of the pods are clean, or by installing small rubber noise dampeners between the fins if necessary.
Is it legal to run ditch lights on public roads?
In almost all jurisdictions, high-power off-road LED lights are not street-legal and must be turned off when driving on public roads. Their intense brightness and wide angles can easily blind oncoming traffic. Save your ditch lights for the dirt, and switch them off as soon as you hit the pavement.

Leave a comment
All comments are moderated before being published.
This site is protected by hCaptcha and the hCaptcha Privacy Policy and Terms of Service apply.