


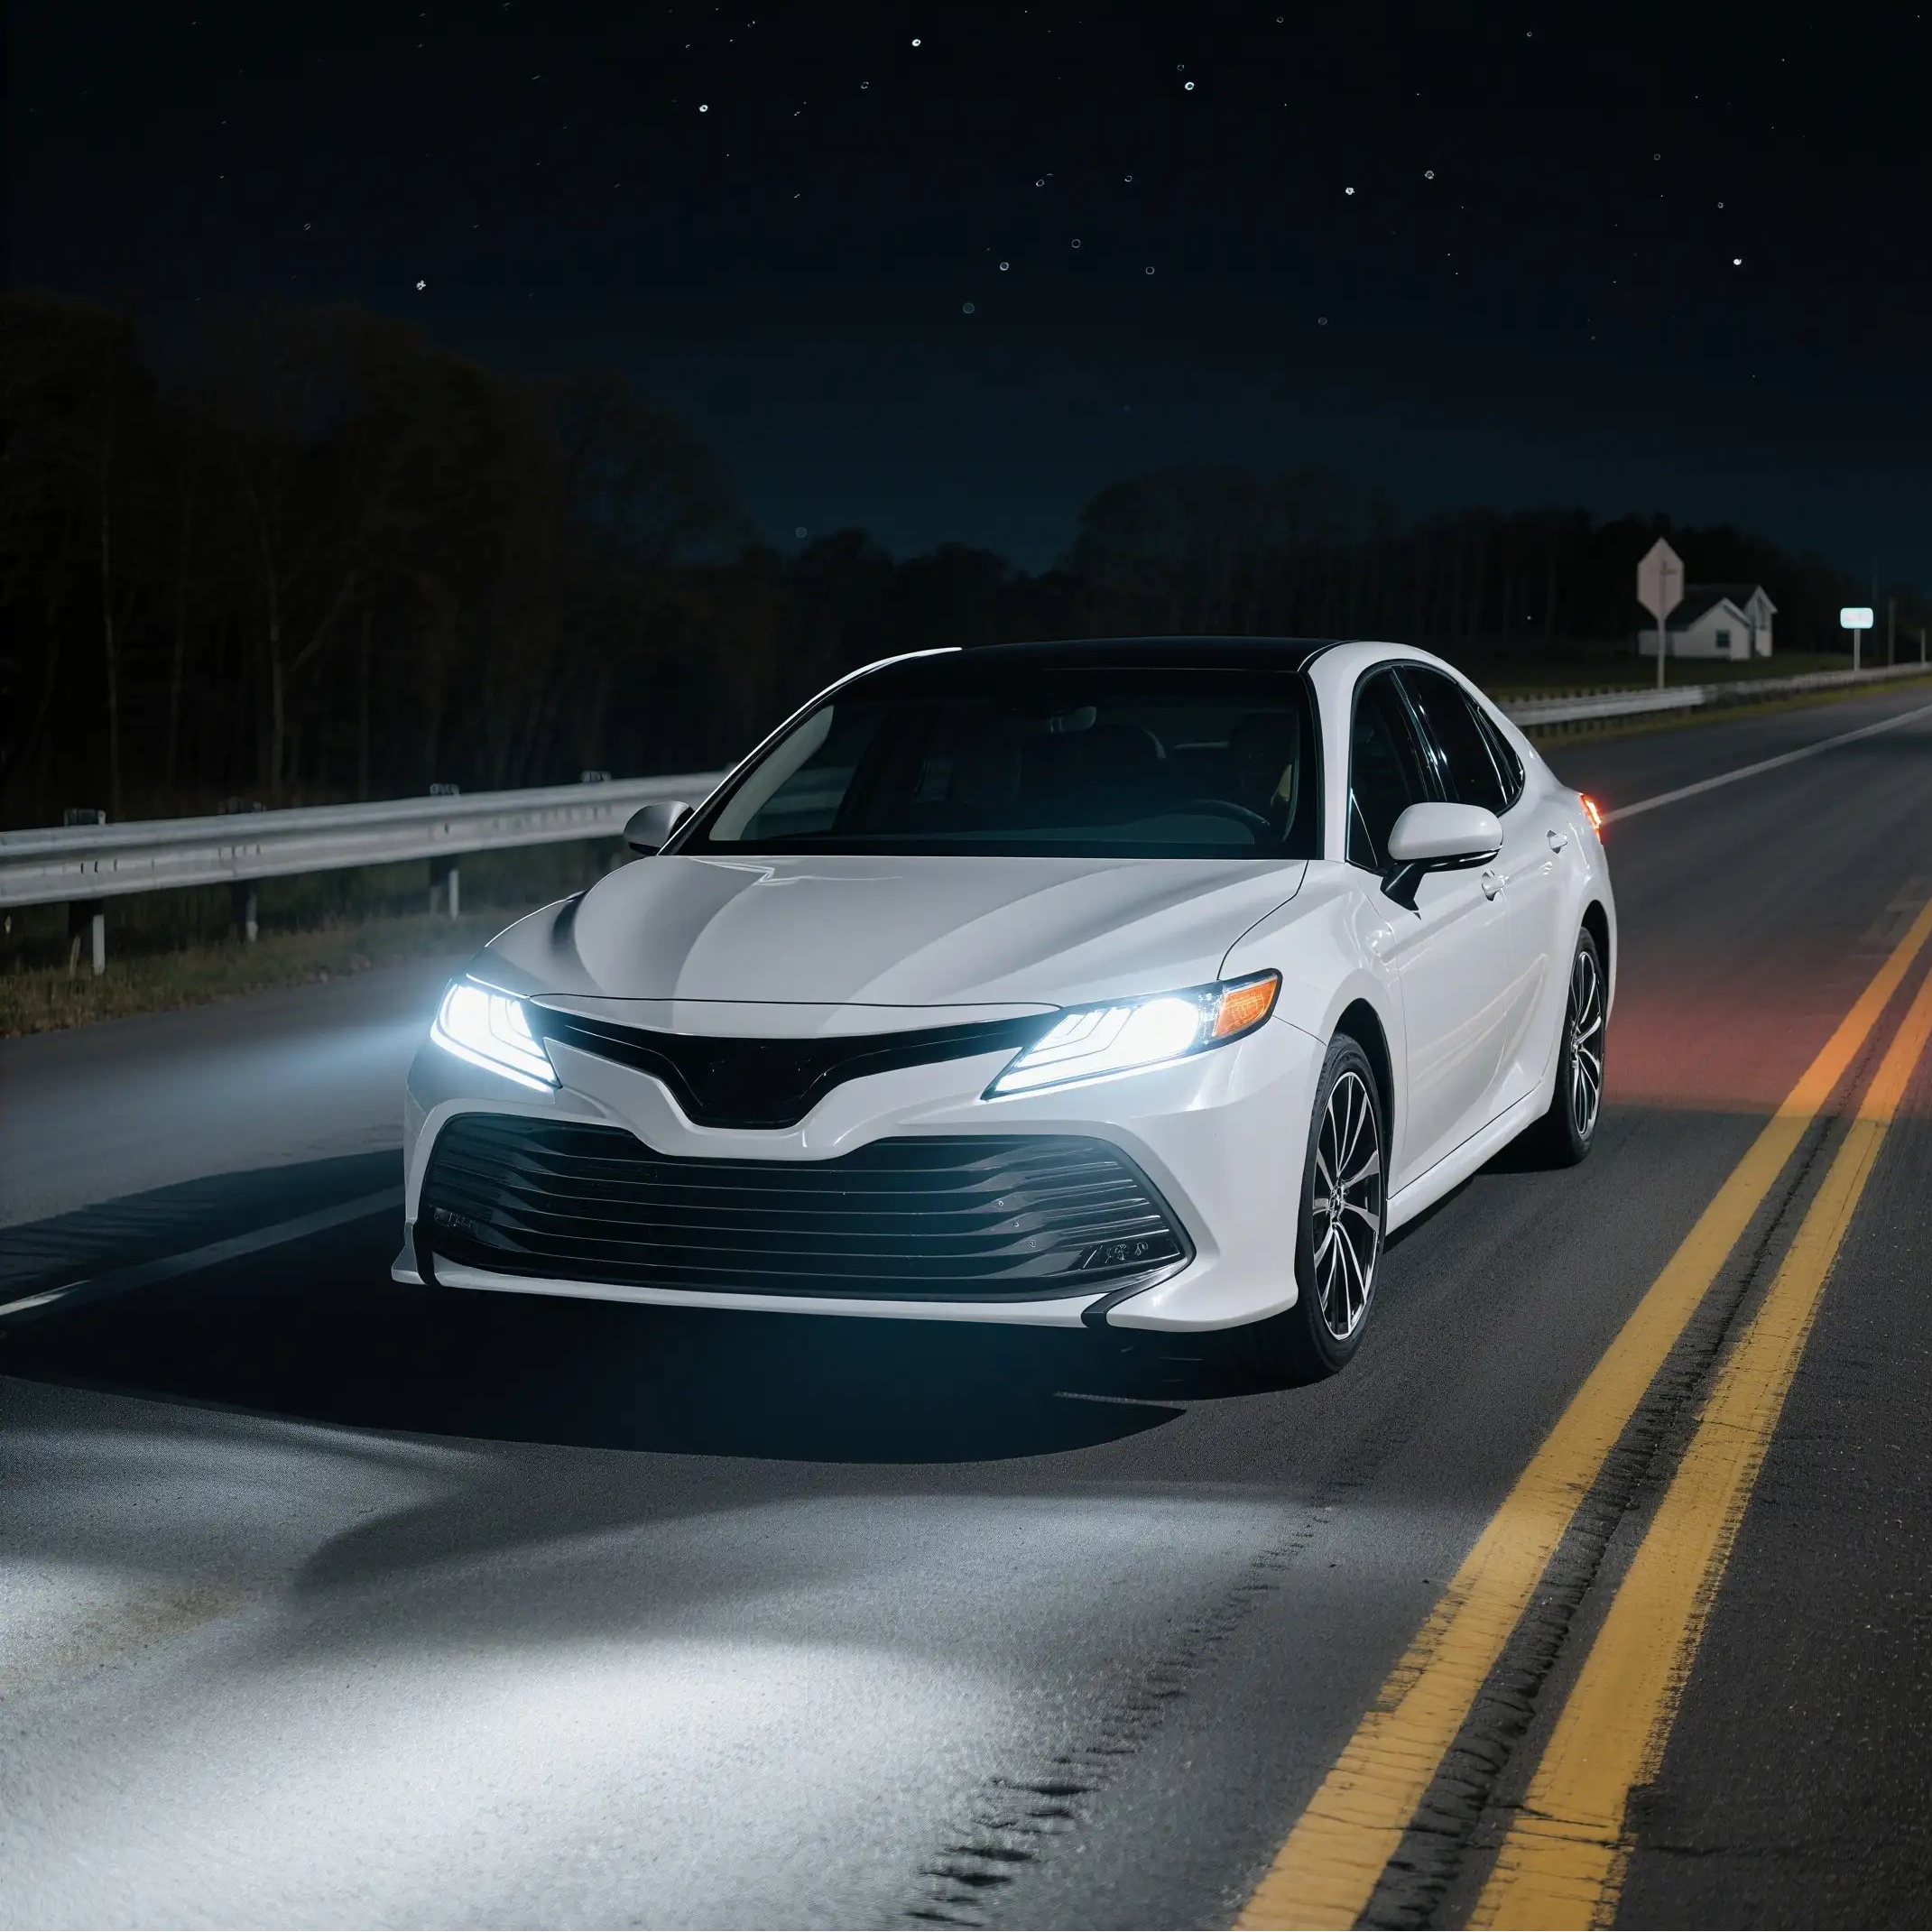





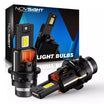
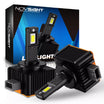
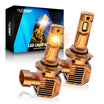
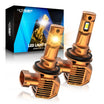





Properly adjusted headlights help you see the road clearly at night without creating excessive glare for other drivers.
If your headlights point too high, they may blind oncoming traffic. If they point too low, your visibility distance will be reduced. Headlight alignment can also change after replacing bulbs, installing LED headlights, changing suspension height, or replacing a headlight assembly.
Fortunately, you can perform a basic headlight alignment check at home using a flat surface, a wall, and a few simple tools.
Signs Your Headlights Are Misaligned
Your headlights may need adjustment if you notice:
- Other drivers frequently flash their lights at you while you are using low beams.
- One headlight appears higher than the other.
- The road directly in front of your car is very bright, but visibility farther ahead is poor.
- Your headlights illuminate signs, trees, or buildings instead of the road.
- The beam pattern looks uneven when projected onto a wall.
- Nighttime visibility became worse after replacing a bulb or headlight assembly.
If any of these signs appear, a simple wall test can help you check the alignment.
How High Should Headlights Be Aimed?
Start by measuring the distance from the ground to the center of each headlight. Transfer that height to a wall using masking tape.
For many vehicles, the top of the low-beam cutoff should appear at or slightly below the headlight center-height reference line.

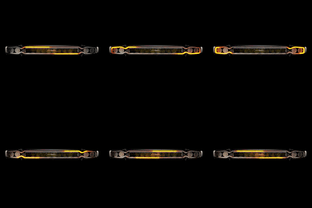
Headlight aim comparison: too high, correct, and too low.
Headlights aimed too high can create glare for oncoming drivers, while headlights aimed too low reduce useful visibility farther down the road.
However, there is no single adjustment measurement that applies to every vehicle. Some manufacturers specify a particular downward angle or beam drop, so your owner's manual or service information should always take priority.
How Far Should You Park From the Wall?
A common DIY headlight adjustment distance is 25 feet, or about 7.6 meters.
However, some manufacturers specify different distances, such as 10 or 15 feet. If your vehicle has a specific headlight aiming procedure, follow that specification. Otherwise, the 25-foot method is a useful general reference.

Headlight alignment wall test at 25 ft (7.6 m).
How to Adjust Headlights Step by Step
Before starting, park your vehicle on flat, level ground.
You will need:
- Measuring tape
- Masking tape
- Screwdriver or suitable adjustment tool
- A flat wall or garage door
Step 1: Prepare the Vehicle
Make sure the tire pressure is correct, the vehicle is parked on level ground, heavy cargo has been removed, and the suspension is sitting normally.
If your vehicle has a headlight leveling control, set it to its normal position. You can also gently bounce each corner of the vehicle to help the suspension settle.
Step 2: Measure and Mark the Headlight Height
Measure from the ground to the center of each low-beam headlight.
Place a horizontal strip of masking tape on the wall at the same height. Then mark the vertical centerline of each headlight.
These marks give you a reference for checking both vertical and horizontal alignment.
Step 3: Move the Vehicle Back
Move the vehicle straight backward while keeping it centered with the wall markings.
Use the manufacturer-specified distance if available. Otherwise, use the common reference distance of 25 feet, or 7.6 meters.
Measure the distance rather than estimating it.
Step 4: Locate the Headlight Adjustment Screws
Open the hood and locate the headlight adjustment screws.
Most headlight assemblies have a vertical adjustment screw and, in some cases, a horizontal adjustment screw.
Depending on the vehicle, you may need a screwdriver, socket, Torx bit, or hex key.
Do not confuse the aiming screws with the bolts that hold the headlight assembly in place.
Step 5: Adjust One Headlight at a Time
Cover one headlight while adjusting the other. Turn on the low beams and slowly adjust the vertical screw until the beam cutoff reaches the correct height.
Then adjust the horizontal aim if your vehicle allows it.
The exact movement depends on the headlight design, so make small adjustments while watching the beam pattern on the wall.
For many left-hand-drive vehicles, the beam pattern is lower toward oncoming traffic and rises slightly toward the passenger side.
Do not try to make both sides perfectly symmetrical if the headlight is designed with an asymmetric beam pattern.
Step 6: Test the Headlights
After adjusting both sides, check the complete beam pattern.
Look for:
- Similar beam heights
- A clean cutoff line
- No excessive upward glare
- No beam pointing sharply left or right
Then perform a short nighttime road test in a safe area. If visibility is still poor or one beam looks abnormal, recheck the alignment.
Do LED Headlights Need Adjustment After Installation?
Yes. It is a good idea to check headlight alignment after installing LED headlight bulbs.
Even if the headlight housing has not moved, the beam pattern may change if the LED bulb is not installed correctly.
Before adjusting the headlight housing, make sure the LED bulb is:
- Fully seated
- Properly locked in place
- Installed at the correct orientation
- Compatible with the headlight housing

Check LED bulb orientation and recheck the beam pattern after installation.
An incorrectly installed LED bulb can create glare, scattered light, dark spots, or an unclear cutoff.
If the beam pattern looks wrong after an LED upgrade, check the bulb installation first before changing the headlight aim.
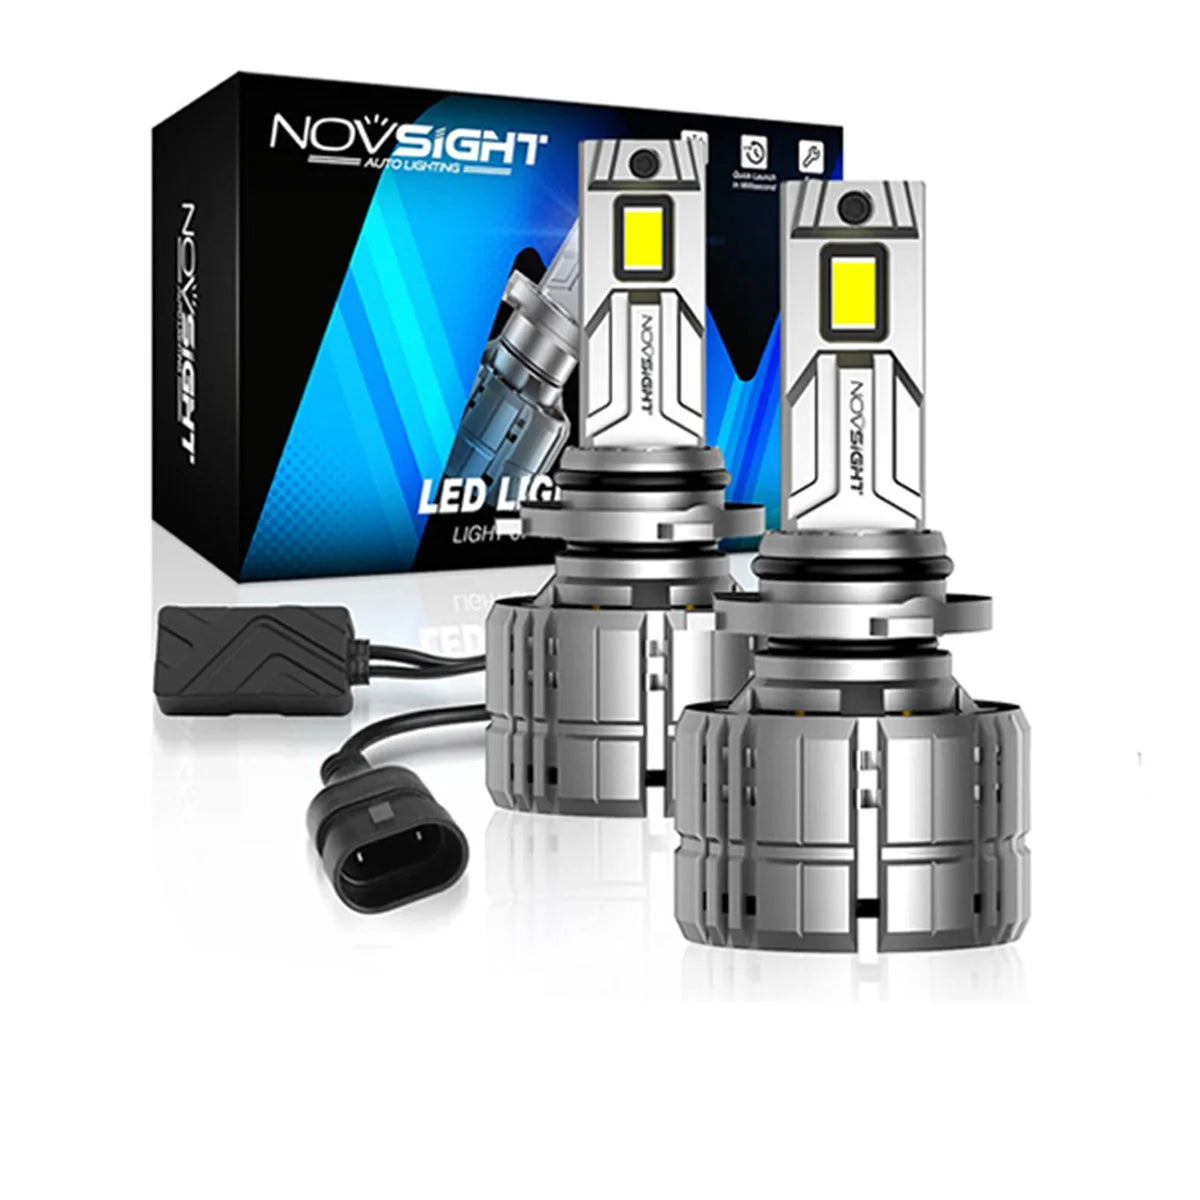
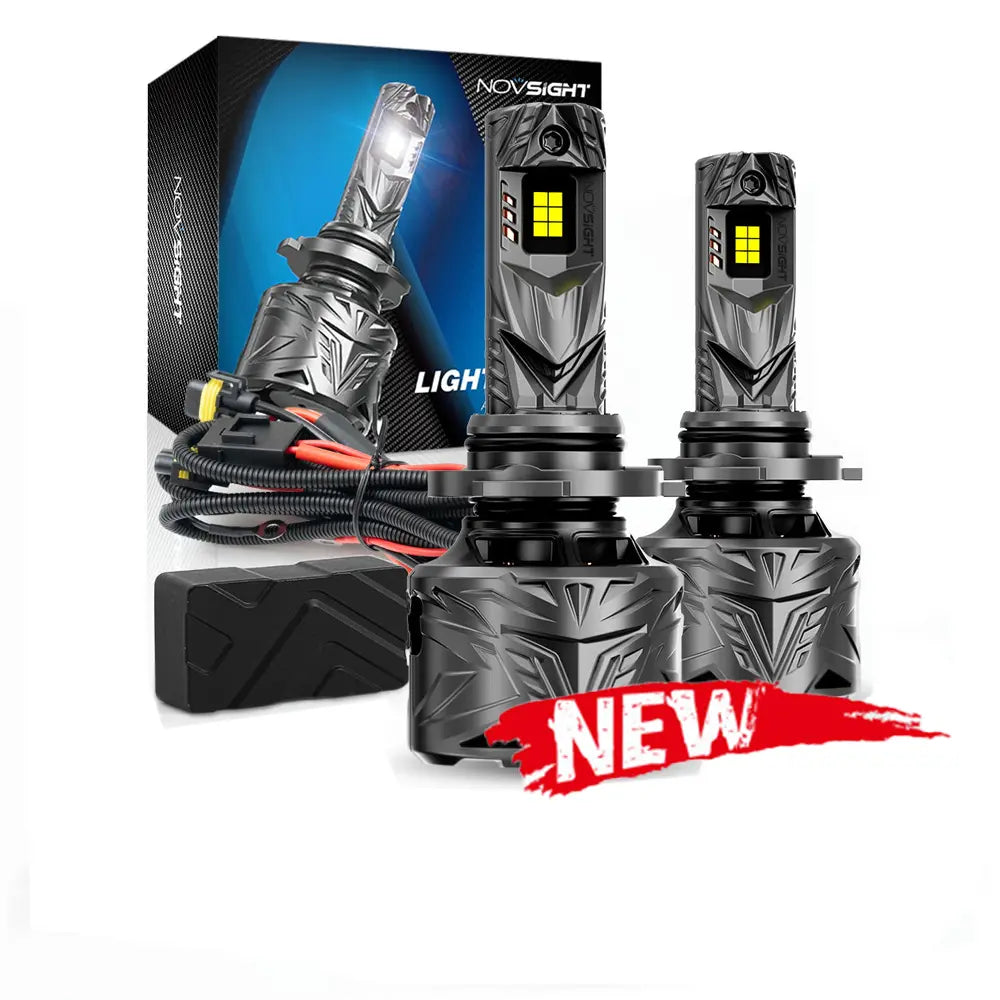
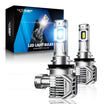
If you are planning to upgrade your lighting, browse our LED headlight bulbs to find options designed for different vehicle applications and headlight housings.
Common Headlight Adjustment Mistakes
- Adjusting headlights on sloped ground
- Using high beams instead of low beams
- Guessing the distance from the wall
- Adjusting both headlights at the same time
- Assuming every vehicle uses the same 25-foot specification
- Adjusting the housing when the bulb itself is installed incorrectly
A careful setup is just as important as the adjustment itself.
Headlight Adjustment FAQ
How high should headlights be at 25 feet?
For many vehicles, the low-beam cutoff should be at or slightly below the headlight center-height reference line. The exact drop varies by vehicle, so check the manufacturer's specification when available.
How far should a car be from the wall when adjusting headlights?
A common DIY distance is 25 feet or 7.6 meters, but some manufacturers use different distances.
Which way do you turn the headlight adjustment screw?
There is no universal direction. Depending on the headlight assembly, turning clockwise may move the beam up, down, left, or right. Turn the screw slowly while watching the beam movement.
Do LED headlights need to be adjusted after installation?
It is recommended to check them. If the beam pattern changes after installing LEDs, first confirm that the bulbs are correctly seated and oriented before adjusting the headlight housing.
Final Thoughts
Proper headlight adjustment improves nighttime visibility and helps reduce glare for other drivers.
The basic process is simple: park on level ground, measure the headlight height, mark the wall, move the vehicle to the correct distance, and adjust each low beam separately.
While 25 feet is a common DIY reference, always follow the vehicle manufacturer's specifications when available.
If your current bulbs are dim, poorly matched, or no longer producing a clean beam pattern, you can also compare compatible headlight bulb upgrade options before making further adjustments.


Leave a comment
All comments are moderated before being published.
This site is protected by hCaptcha and the hCaptcha Privacy Policy and Terms of Service apply.