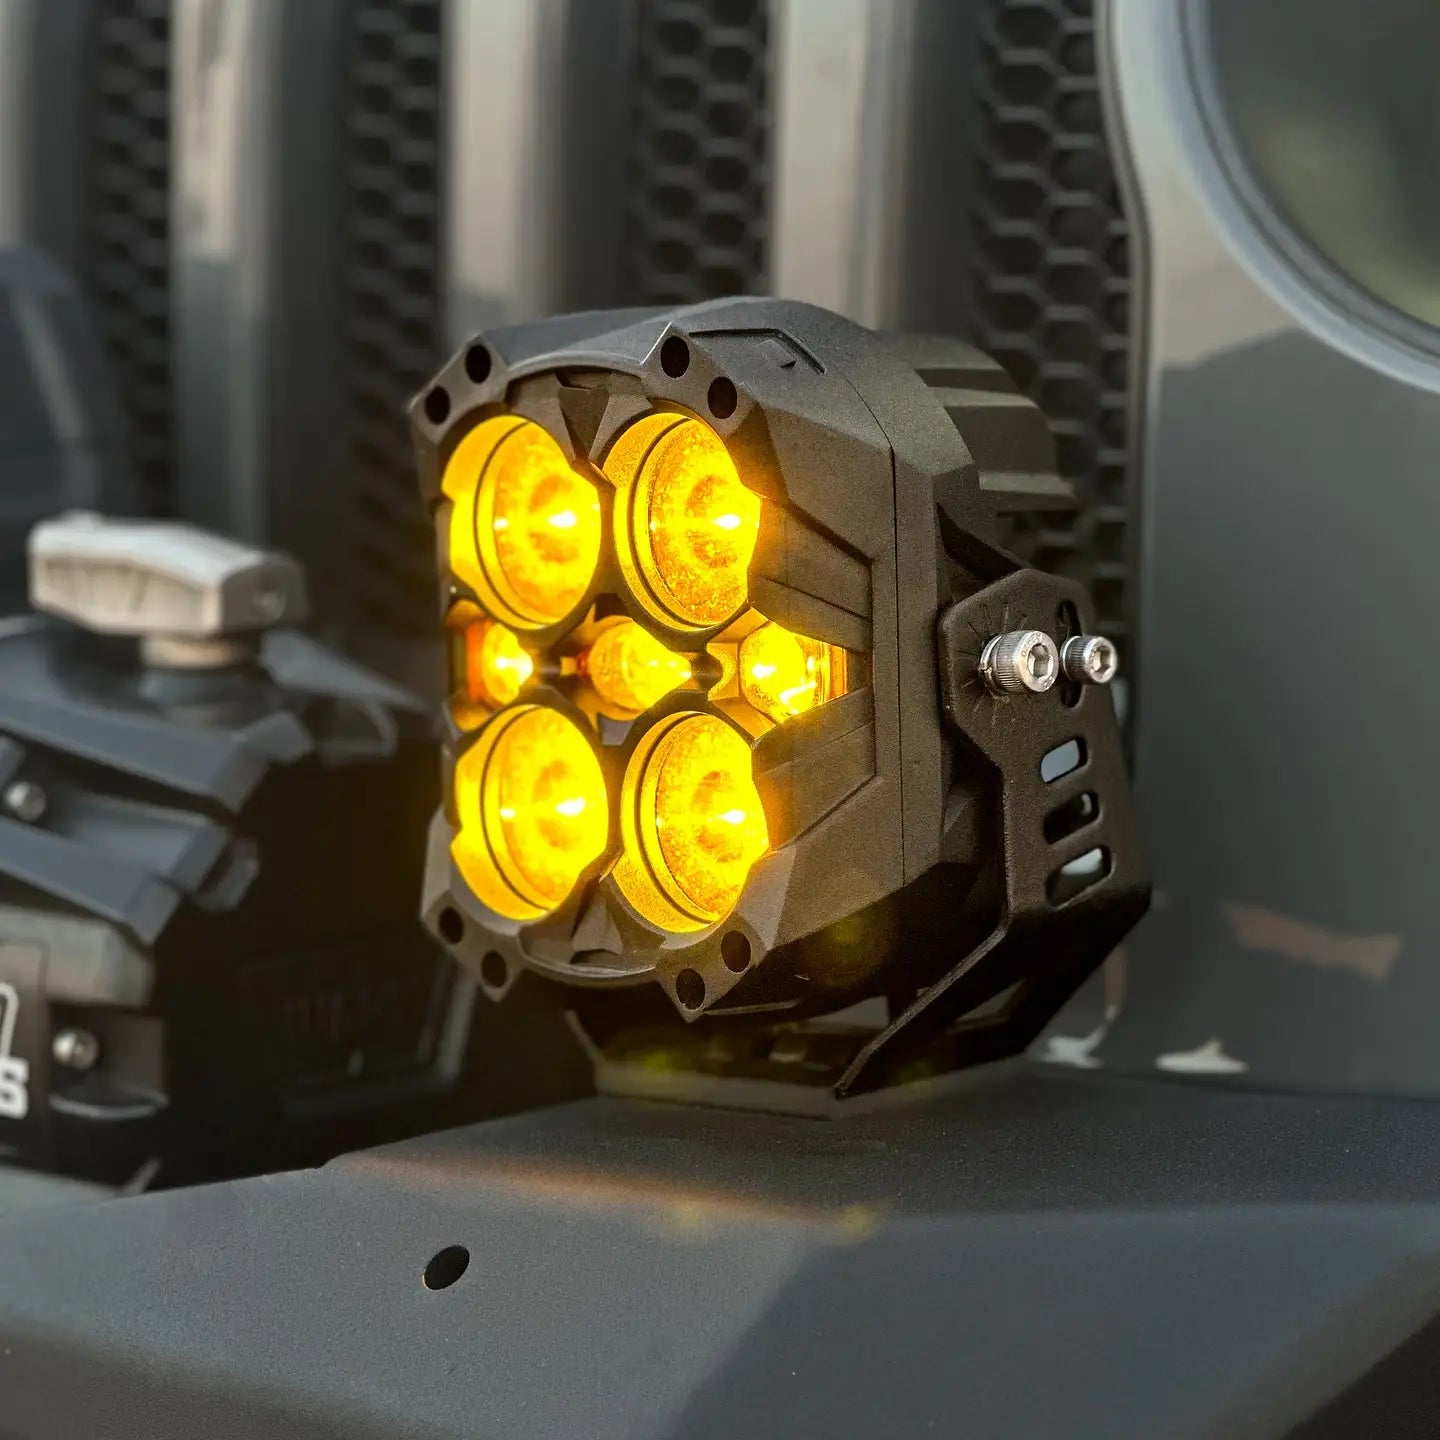
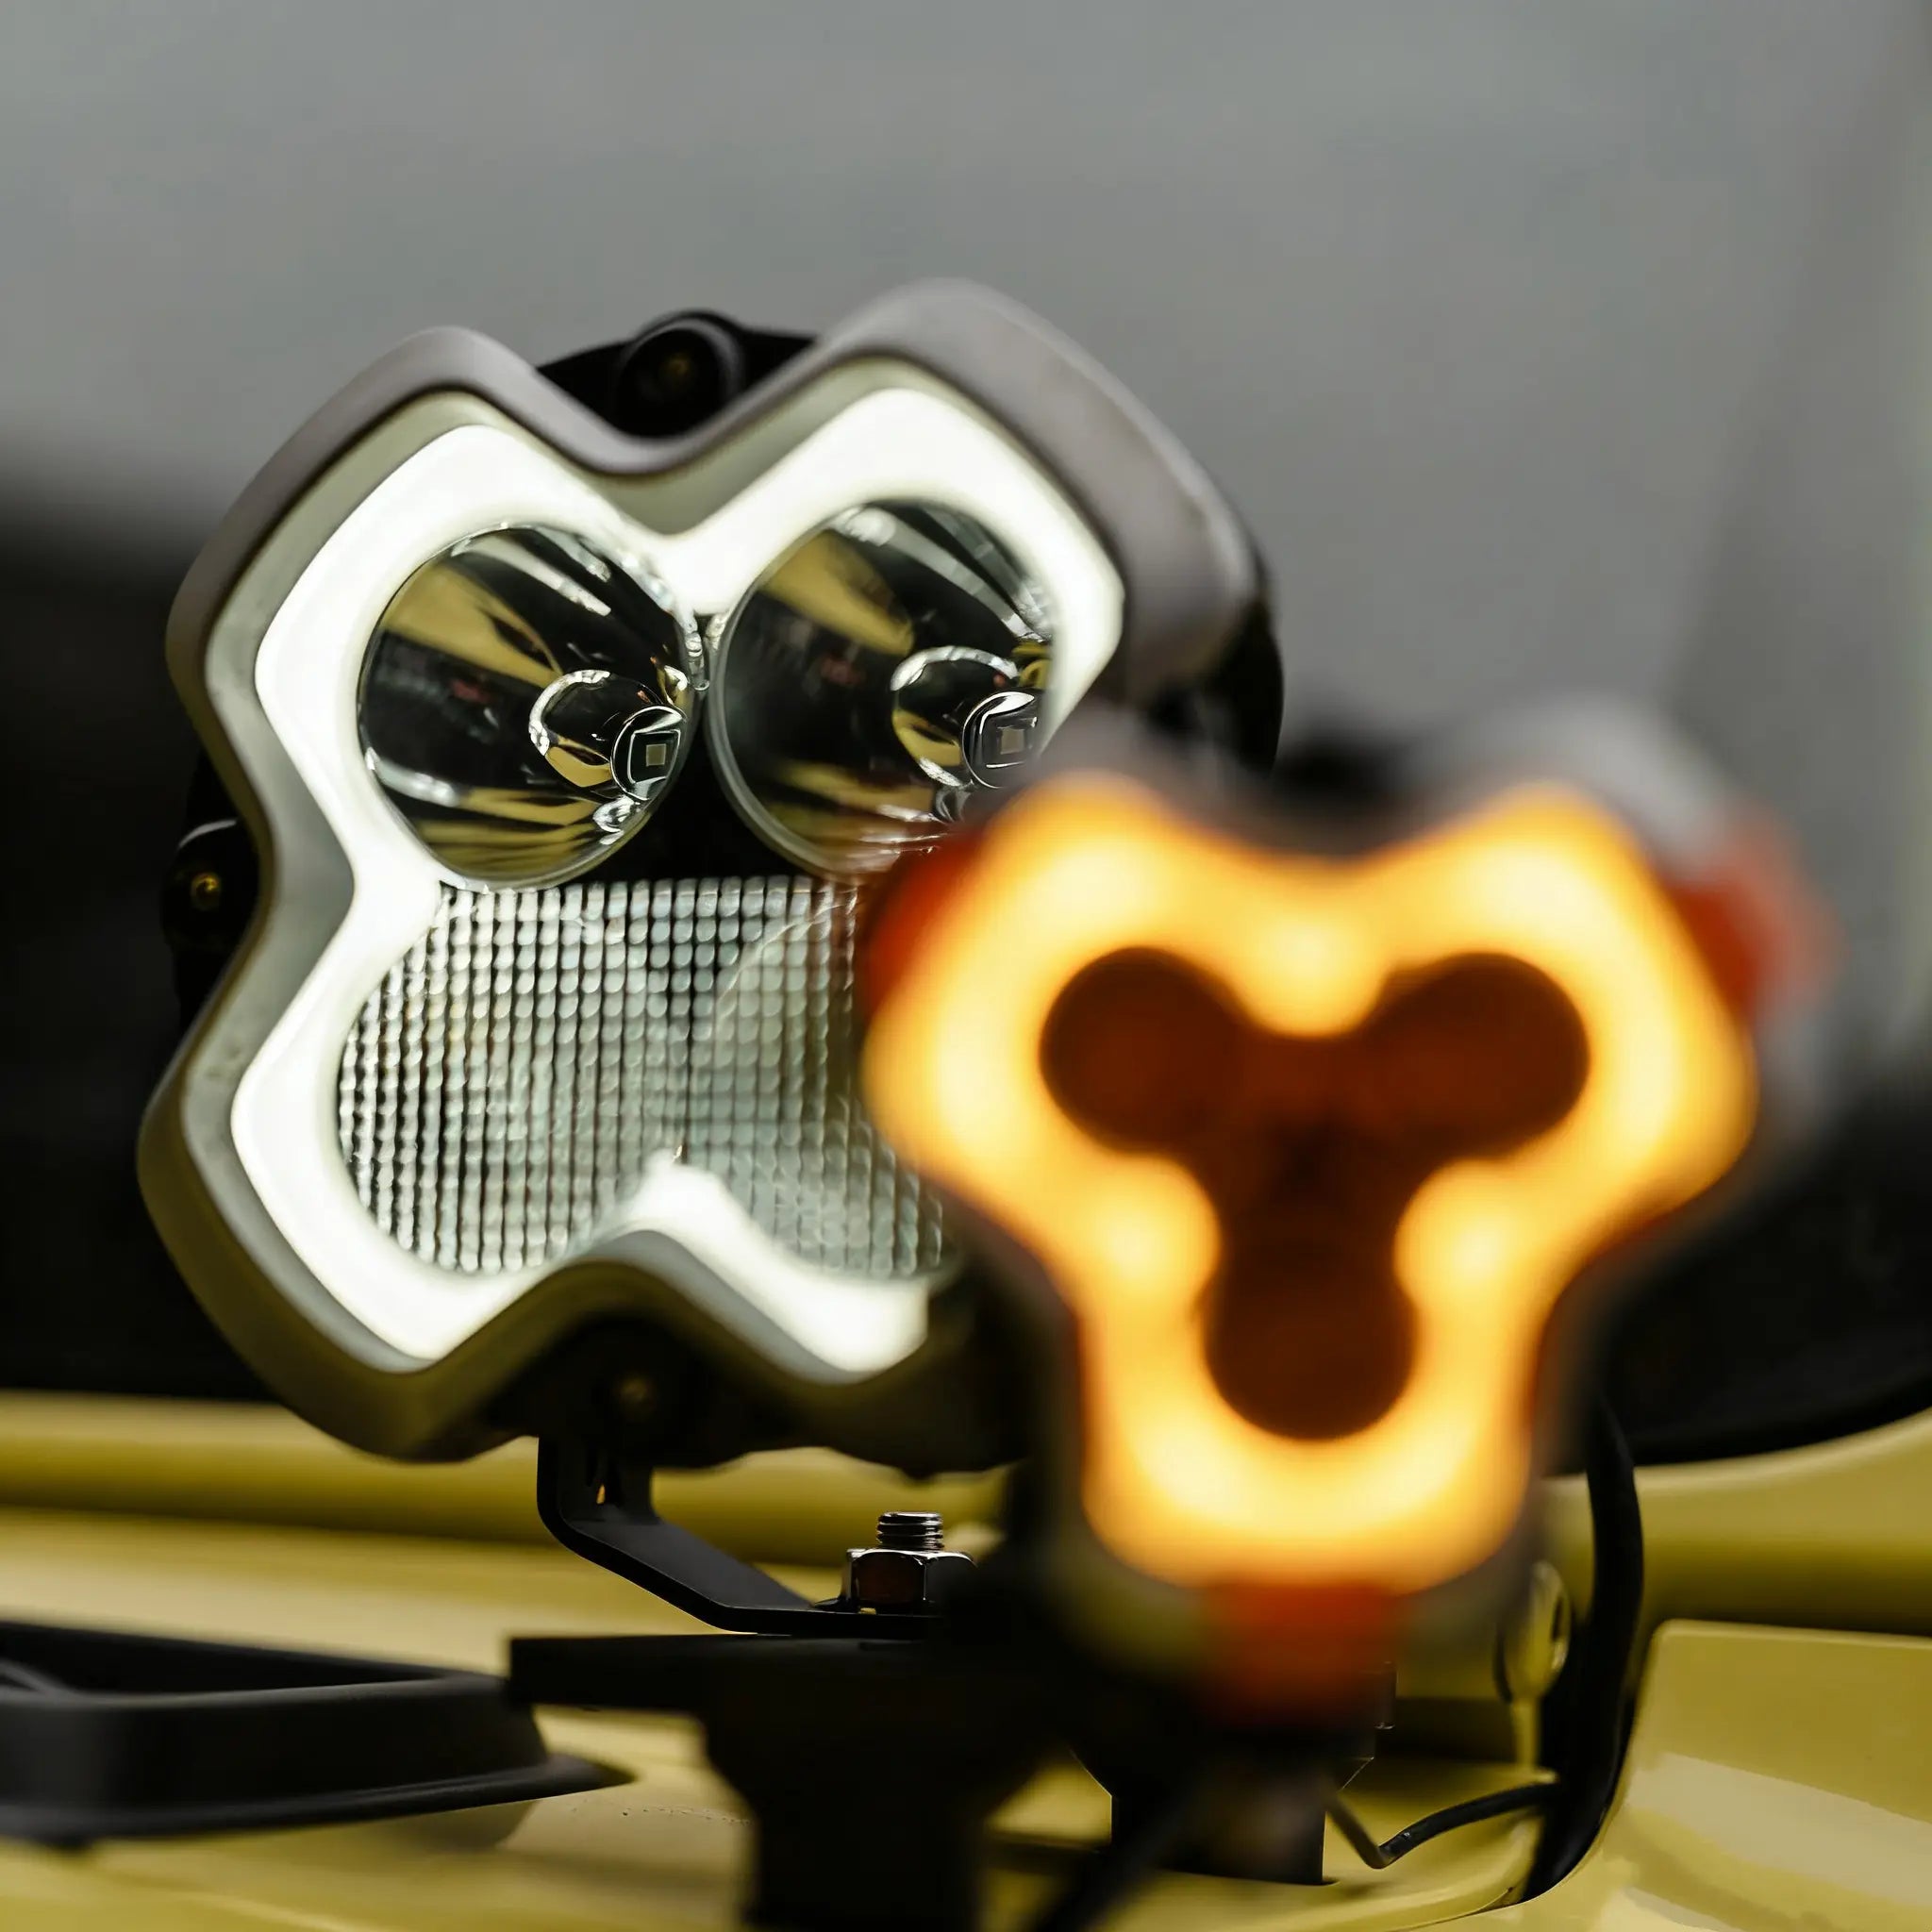
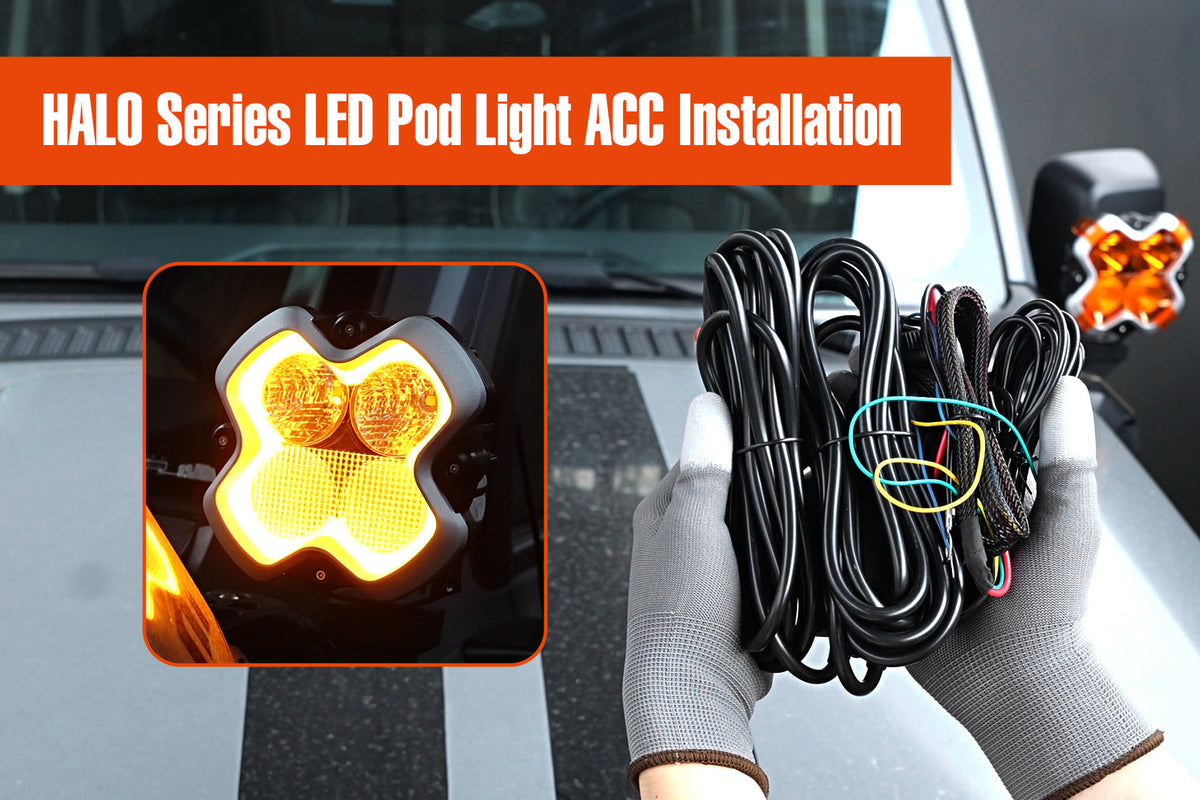
Learn how to install and synchronize your NOVSIGHT Halo PRO spotlights with this step-by-step guide. Includes wiring diagrams, DRL sync testing, and troubleshooting tips for both pre-assembled and custom wiring setups.
1. Pre-Installation: DRL Synchronization Test
⚠️ Critical Step:Always test synchronization before final installation.
Why This Test Matters
Ensures both spotlights operate in the same DRL mode (yellow/white)
Prevents mismatched lighting after installation
Verifies proper wiring and control functionality
Test Setup
🔌 Required Components:
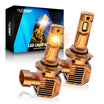
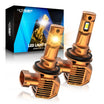
2× Halo PRO spotlights
Wiring harness (pre-assembled or custom)
12V power source (battery or vehicle power)
Step-by-Step Test Procedure
Connect the Lights
Plug both spotlights into the same harness.
🔴Red wire→ Batterypositive
⚫Black wire→ Batterynegative
⚪White wire→ Batterypositive(if using pre-assembled harness)
Power On & Observe
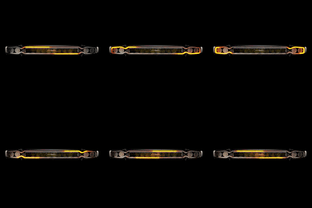
Turn on the system—default DRL mode should besolid yellow.
Test Mode Switching
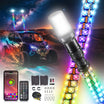
The button on the left of the picture is the main light source switch, and the button on the right is the daytime running light button
Press the[DRL button]briefly to cycle modes: Mode One: Yellow, Mode One: White. Mode Two Yellow, Mode Two White...
Both lights should changesimultaneously.
Reset If Out of Sync
If lights show different modes:
Long-press [Main button] for 5 seconds→ DRLs reset to mode One: yellow, remaining on continuously
Short-press [DRL button]to confirm sync—both should now match.
✅Test Passed? Proceed to installation.
2. Installation Methods
Option 1: Pre-Assembled Harness (Plug & Play)
Best For:Quick, hassle-free setup
Components:
Battery Connection
🔴 Red →Positive
⚫ Black →Negative
⚪ White →Positive (safety backup)
Control Module
Decodes signals & stabilizes voltage
Button Functions
[ Main Light Button]
Short press:On/Off
5-sec press:Reset DRL sync
[ DRL Button]
Short press:Cycle modes (Yellow-White)
Long press:Turn off
✅ Advantages: No cutting, stable performance, beginner-friendly
Only works with button-style switches(not toggle/OEM)
No control module→ Less voltage stabilization
✅ Advantages: Customizable switch integration
Conclusion
Whether you choose plug-and-play simplicity or custom wiring flexibility, this guide ensures a smooth installation. Always test DRL sync first, follow wiring diagrams carefully, and refer to troubleshooting tips if needed.















Leave a comment
All comments are moderated before being published.
This site is protected by hCaptcha and the hCaptcha Privacy Policy and Terms of Service apply.